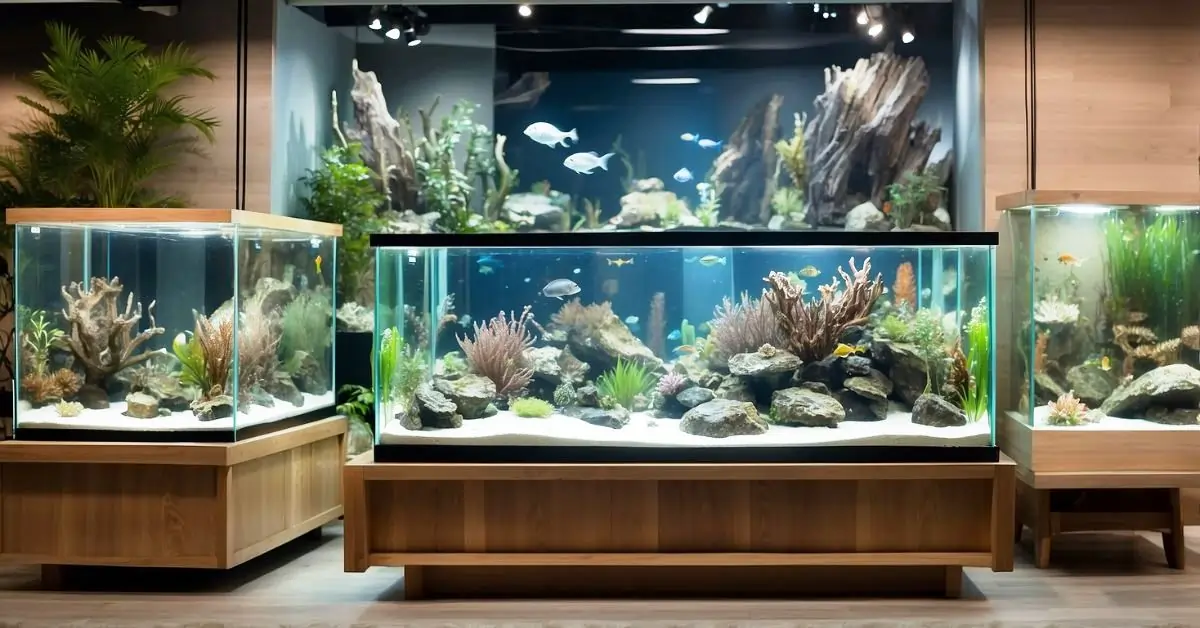
How to Set Up An Aquarium for Beginners
A small adventure is what starting an aquarium is like. It’s not only about giving your fish a cozy home; it’s also about introducing a little piece of the ocean’s charm into your home. Since this is all new to you, it’s quite acceptable to feel a little uncertain. But with a few simple rules, as you’ll soon find, setting up an aquarium is actually not as difficult as you may think. Together, let’s go on this exciting journey now.
With an emphasis on beginners, we’ll walk you through the basics of setting up an aquarium in this blog post.
Step-by-Step Guide to Setting Up an Aquarium
Step 1- Preparing Your Aquarium Gravel, Rocks, and Ornaments:
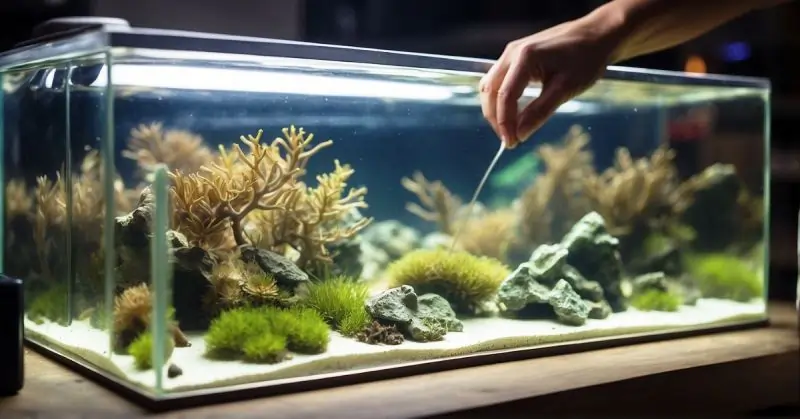
- Rinse Thoroughly: Start by thoroughly rinsing your aquarium gravel, rocks, and decorations with warm water before placing them in your tank. This step is crucial to remove any dust or residues.
- Avoid Soap and Detergents: It’s important to remember not to use soap or detergents for cleaning. These products contain chemicals that are harmful, even lethal, to fish.
- Effective Gravel Washing:
- Place the gravel in a colander and set it over a plastic pan or bucket. This setup makes it easier to rinse the gravel effectively.
- Pour water over the gravel, stir it to loosen any debris, and then allow the water to drain.
- Repeat the rinsing and draining process several times, until the runoff water is clear and free from any particulate matter.
By following these steps, you ensure that the foundational elements of your aquarium are clean and safe, creating a healthy environment for your aquatic life.
Step 2-Initiating Your Aquarium’s Water Setup
1. Starting the Fill Process: Begin by gently filling your tank to about one-third of its total capacity using room temperature water. This initial quantity is crucial as it allows you to adjust the temperature and water chemistry gradually, minimizing the risk of drastic changes that could be harmful to future aquatic inhabitants. Employ a clean bucket for this task to avoid introducing any contaminants into your new aquatic environment.
2. Minimizing Substrate Displacement: As you add water to the aquarium, employ a simple yet effective technique to protect the carefully placed gravel or substrate at the bottom. Position a clean plate or saucer on the substrate and pour the water onto this surface. This method diffuses the force of the pouring water, preventing the gravel from being unsettled and preserving the aesthetic layout of your tank’s bottom layer. It’s a thoughtful approach that maintains the integrity of your substrate setup, ensuring that any plants or decorations embedded within remain undisturbed.
3. Ensuring Water Safety with Conditioners: The tap water we comfortably use for daily chores contains chlorine or chloramine, added as disinfectants to make it safe for human consumption. However, these chemicals are toxic to fish, capable of damaging their delicate gills and leading to serious health issues or even mortality. To make the water hospitable for aquatic life, it’s essential to treat it with a water conditioner, such as Tetra® AquaSafe® Solution.
These conditioners are specially formulated to neutralize chlorine, chloramine, and other harmful substances in tap water, effectively rendering it safe for your fish. Add the recommended amount of conditioner directly to the water you’ve just added to your tank. It’s a pivotal step that transforms your aquarium from a simple glass enclosure filled with tap water to a safe, nurturing habitat ready to support life.
Through these meticulously detailed steps, you’re not just filling an aquarium; you’re crafting a conducive, life-supporting aquatic world. This process underscores the importance of patience, precision, and care in setting up a new aquarium—a foundational practice that paves the way for the thriving ecosystem your tank is destined to become.
Step 3-Setting Up Air Circulation in Your Aquarium:
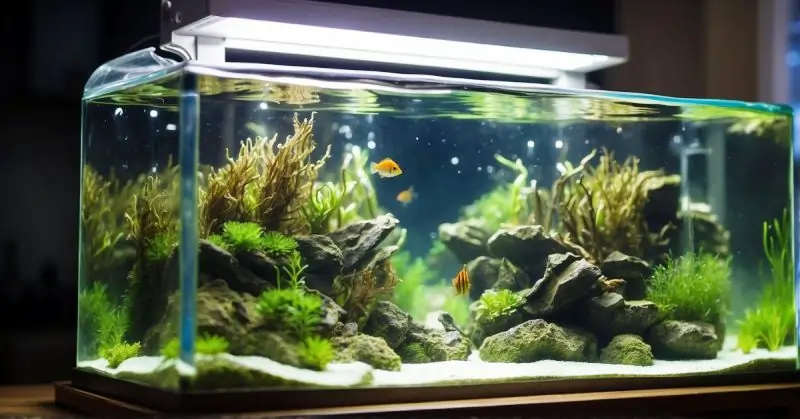
- Connecting Airline Tubing: Begin by attaching the airline tubing from your air pump to any air outlets within your aquarium. This includes devices like air stones or special decorations that release bubbles. These outlets play a crucial role in enhancing oxygenation and circulation in the water, creating a healthier environment for your aquatic life.
- Incorporating a Check Valve for Safety: To ensure the safe placement of your air pump, particularly if you prefer it to be positioned below the aquarium level, make use of an aquarium check valve. This small but vital component is inserted into the airline tubing outside of your tank. Its function is critical: it prevents water from siphoning back towards the air pump and escaping the aquarium in the event of a power failure. The check valve acts as a one-way gate, allowing air to pass towards the tank while stopping any water from moving in the opposite direction, thus safeguarding both your equipment and your aquatic habitat.
Through these steps, you establish a reliable and safe air circulation system in your aquarium, contributing significantly to the well-being of your fish and the overall ecosystem of your tank.
Step 4 –Aquascaping with Plants:
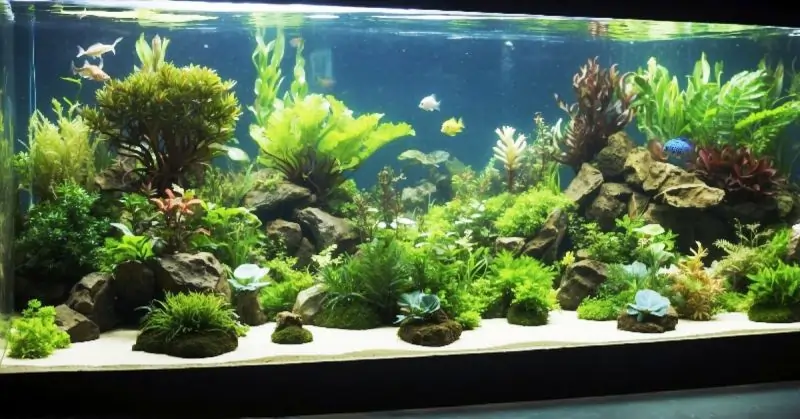
Enhance your aquarium with a mix of live or artificial plants. Position them strategically to conceal your equipment, creating a more natural-looking habitat.
For Live Plants:
- Ensure the water temperature is suitable for the specific plants you’re introducing.
- Carefully plant the roots beneath the gravel’s surface, keeping the crown (the plant’s base) above the substrate if applicable.
- Keep the plants moist before planting—wrapping them in damp newspaper is effective.
- To promote healthy growth and root development, consider using an aquatic plant fertilizer, like Tetra® FloraPride®. Proper aquarium lighting is also crucial for their well-being.
This approach not only beautifies your aquarium but also provides a healthier environment for your aquatic life.
Step 5-Completing the Water Fill Process
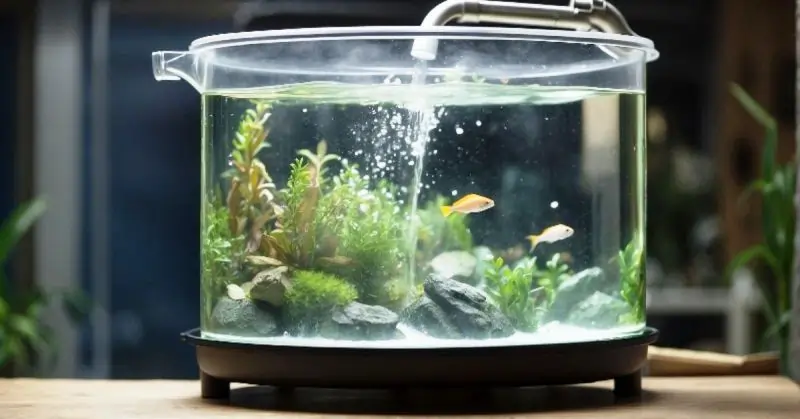
Proceed to add water to your aquarium until it reaches just below the top frame, ensuring there is a gap between the water level and the tank cover. This air space is essential for proper gas exchange and to prevent overflow.
Step-6 Filter Setup and Aquarium Cycling Guide
For External Filters:
- Insert the necessary filter media or cartridges as specified.
- Place the filter as directed in its setup guide.
- Prime the filter by ensuring it’s filled with water before operation.
For “Hang On Tank” Filters with a Pickup Tube:
- Adjust the pickup tube so it nearly reaches the tank’s bottom but doesn’t touch the gravel. If the tube is too long, trim it to the appropriate length and reattach the intake screen.
- Open the filter’s lid and pour water into it to prime the pump before starting.
Important Note on Cycling Your Tank: Cycling your tank involves cultivating beneficial bacteria in your new filtration system. These bacteria are crucial for breaking down harmful toxins. To expedite this process, consider adding Tetra® SafeStart® Solution. This allows for a quicker tank cycle, making it safe to introduce fish sooner. Remember, proper cycling is key to establishing a healthy aquarium environment.
Step-7 Installing the Submersible Heater and Thermometer
- Position the submersible heater close to the area with good water circulation to ensure even heat distribution throughout the tank.
- Place the thermometer at the opposite end of the tank from the heater to get an accurate reading of the water temperature.
- Opt for an easy-to-read thermometer. Many stores offer adhesive thermometers that stick to the outside of the tank, allowing for easy temperature monitoring without disturbing the aquatic environment.
- Remember to submerge the heater completely in the water before connecting it to power. This ensures proper operation and safety.
Step-8 Starting Your Aquarium Equipment
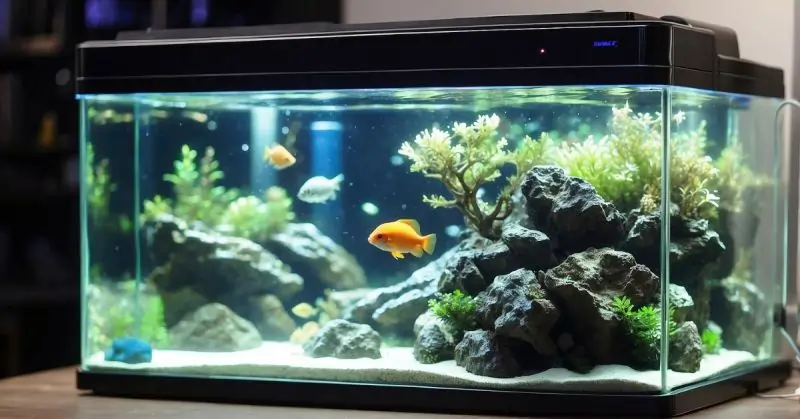
- Activate Your Equipment:
- Connect and turn on your air pump, power filter, and heater. Ensure they are all properly set up and submerged as necessary before powering them on.
- Heater Safety Precaution:
- Important: Never turn on the heater when it’s out of water. Activating a dry heater can cause it to overheat, potentially damaging the unit or causing the glass to break. Always ensure the heater is fully immersed in water before switching it on.
- Optimize Airflow and Filtration:
- Inspect the air outlets to make sure they are functioning correctly. Adjust any settings as needed to achieve optimal airflow.
- Confirm that water is being effectively circulated through the power filter. Proper flow is essential for maintaining water quality.
- Setting the Right Temperature:
- Adjust your heater to the desired temperature setting for your aquatic environment. Be aware that it may take up to 24 hours for the temperature to stabilize within the tank. You might need to fine-tune the heater settings after this period to maintain a consistent temperature.
- Equipment Check:
- Allow 24 hours to pass while monitoring all equipment to ensure everything is operating smoothly and efficiently. This step is crucial to confirm the stability and safety of your tank’s environment before introducing fish.
By carefully following these steps, you can set a strong foundation for a healthy and thriving aquarium. Patience during this initial phase is key to long-term success.
Step 9-Monitoring Your New Aquarium
- Temperature and Conditions Check: A few hours after setup, review the water temperature and overall conditions within your aquarium to ensure they are stable.
- Understanding Cloudy Water: It’s common for water in new aquariums to appear cloudy for the first couple of days. This cloudiness is typically due to benign bacterial growth and should clear up on its own without intervention.
- Water Quality Testing: To keep track of your aquarium’s health, test the pH and hardness levels of the water. Utilizing a Tetra® Test Kit combined with the handy My Aquarium App can simplify this process, giving you accurate and easy-to-understand results.
By regularly checking these aspects of your aquarium, you can ensure a healthy start for your aquatic environment and address any issues promptly.
Final Step-Kudos on Setting Up Your Aquarium
You’ve successfully created a safe, ready, and fully equipped environment for your new aquatic pets. Now comes the exciting part: introducing your fish to their new home.
Should you have any questions about the setup process or if you’re in need of assistance or support, don’t hesitate to reach out to our TetraCare experts. Our team is eager to help and ensure your aquarium journey is a success. We’re always just a message away and happy to assist you
Conclusion-How to Set Up An Aquarium for Beginners
Embarking on the aquarium setup journey is a fulfilling experience that demands patience, attention to detail, and a willingness to learn. By following these key steps—from the initial setup and cycling process to carefully introducing your fish—you’re creating the groundwork for a thriving aquatic ecosystem. The true secret to a flourishing aquarium lies not only in the initial setup but also in your ongoing commitment to maintaining a healthy environment for your aquatic friends.
We’re eager to hear about your own aquarium adventures and insights. Your shared experiences add immense value to our community of aquarium lovers. Feel free to drop your stories and advice in the comments section. Let’s dive deep into the wonders of the aquatic world together!
